
The circular saw remains the go-to tool for cutting wood straight on a job site or in a workshop. However, results can vary significantly from one user to another, and the cause rarely lies with the tool itself. The main issue is the lateral drift of the machine during cutting, a phenomenon that neither good marking nor a new blade can adequately compensate for.
Lateral Drift of the Circular Saw: The Real Factor Behind Failed Cuts
When a cut goes off track, the instinct is to blame the marking or the feed speed. In reality, the lateral drift of the base on the panel accounts for most discrepancies. This drift has two distinct origins.
The first is mechanical: a play between the base and the housing, or a slightly warped base, is enough to misalign the blade by a few tenths of a millimeter at the start. Over a cutting length of one meter or more, this gap results in a visibly curved line.
The second is gestural. In freehand cutting, the pressure exerted by the operator is never perfectly symmetrical. The guiding hand pushes the tool forward but also laterally, in an imperceptible manner. The longer the cut, the more this micro-deviation accumulates. To achieve a straight cut with a circular saw, one must first understand that human gesture is the least controllable variable in the equation.
A parallel guide pressed against the edge of the panel reduces this drift but does not eliminate it entirely: if the reference edge is not perfectly straight, the guide faithfully reproduces every defect.
Freehand Cutting or Rail Cutting: Two Practices, Two Levels of Precision
Talking about straight cuts with a circular saw without distinguishing between these two configurations is like comparing driving on a road and on a rail. The constraints and results are entirely different.
Freehand with Parallel Guide
The parallel guide provided with most circular saws is suitable for ripping cuts on narrow pieces. Precision depends entirely on the quality of the reference edge and the manual pressure applied against the guide.
This configuration reaches its limits as soon as the cutting width exceeds the guide’s capacity, or when the panel is too large to be held stable. Field reports vary on the exact threshold, but beyond about sixty centimeters in width, most users notice a loss of lateral control.
Rail Cutting
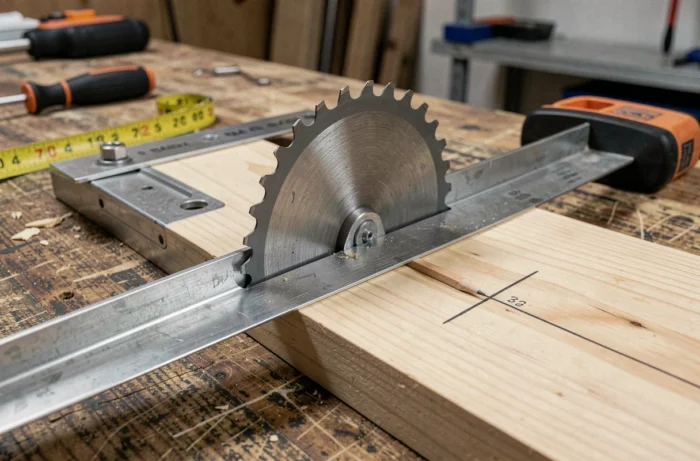
The rail transforms the circular saw into a constrained movement system. The base slides in a groove or on pads, and lateral drift is mechanically eliminated. The result no longer depends on the gesture but on the quality of the rail and its interface with the base.
Dedicated rails (plunge systems like rail saws) include an anti-chipping strip glued to the edge of the rail. This strip serves two functions: it prevents the surface veneer from chipping, and it materializes the exact cutting line, eliminating the need to calculate an offset between the line and the blade.
Maintenance of the Rail and Base: Precision Degrades Over Time
A new rail guarantees a straight cut. After several months of use, the situation changes. Wood resin deposits on the slides create catch points that disrupt the smooth movement of the base. The clamping cams (on models that have them) gradually loosen, generating a lateral play of a few tenths.
Periodically replacing the anti-chipping strip is part of regular maintenance. A strip worn by the successive passes of the blade no longer protects the veneer and distorts the visual cutting reference. Similarly, cleaning the rail slides with a mild solvent and checking the adjustment of the cams before each long session helps maintain original precision.
This maintenance point is rarely addressed in consumer user guides, even though it explains a significant portion of the disappointments expressed by users after a few months.

Circular Saw Blade and Cut Quality: Beyond the Number of Teeth
The choice of blade influences the sharpness of the line but not its straightness. A fine-toothed blade produces a clean surface finish, while a coarse-toothed blade tears the fibers. However, no blade corrects lateral drift of the base.
Several criteria deserve special attention when choosing:
- The thickness of the blade body: a thin blade generates less friction and reduces pushing effort, which indirectly limits the tendency to deviate in freehand cutting.
- The tooth spacing (their lateral distance from the body): too wide a spacing produces a thick cut line and increases vibrations, which degrades precision on thin panels.
- Sharpening: a dull blade forces the user to push harder, amplifying gestural drift. Replacing or sharpening the blade as soon as cutting effort increases remains the simplest preventive action.
Cutting Depth Adjustment: An Underestimated Parameter for Wood
The cutting depth is adjusted so that the blade protrudes just a few millimeters under the panel. This adjustment reduces the contact area between the blade and the material, decreasing friction and heating.
An overly deep adjustment exposes a large part of the blade under the piece, increases vibrations, and makes the machine harder to control laterally. Conversely, an adjusted depth stabilizes the tool in the cutting line.
On plunge saws used with a rail, this adjustment combines with the plunge function: the blade descends into the material at the exact point of the cut start, avoiding the initiation at the panel edge and the risk of kickback.
The straightness of a cut with a circular saw depends less on the marking or the brand of the tool than on mastering lateral drift. A well-maintained guide rail, a blade in good condition, and a correctly adjusted cutting depth form a coherent set. Each of these elements taken individually provides only a partial improvement, but their combination radically changes the consistency of the results.